
fit a copy to the page
•
print several copies on one page
•
print two originals on one page
•
shift image to increase the margin
•
make two-sided copies
•
collate copies
•
make a poster
•
prepare a color T-shirt transfer
copy a photo
1
Load the photo on the glass.
2
If you are using photo paper, you must load it in the main paper tray.
If you have the HP 250-sheet plain paper tray, do not load photo
paper into that tray.
3
Press TraySelect/Paper Type until the Upper Tray is selected, as shown
by the dot.
If you do not have the HP 250-sheet plain paper tray, the upper tray
(main tray) is selected by default.
4
When Upper Tray is selected, press
until the desired photo paper
option appears, then press Enter to select it.
For more information, see recommended paper-type settings for
copying in the onscreen User’s Guide.
Tip! To enlarge a photo automatically to a full page, press
Special Features until Fit to Page appears, then press Enter.
For more information, see below.
5
Press Menu.
6
Press 1, then press 1 again.
This selects Copy Setup, and then selects Enhancements.
7
Press
until Photo appears, then press Enter to select it.
8
Press Start Copy, Black or Start Copy, Color.
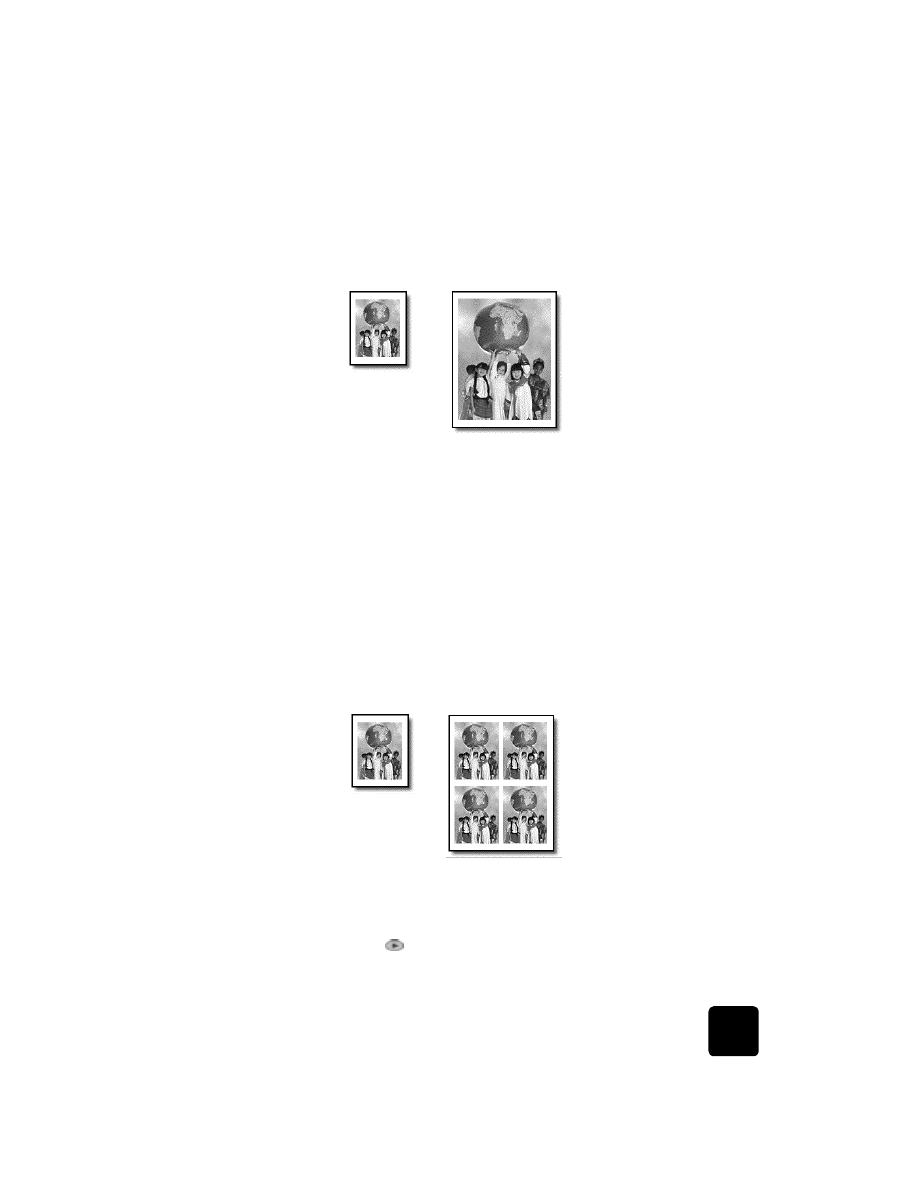
fit a copy to the
page
Use Fit to Page when you want to automatically enlarge or reduce your
original to fit the paper size you have loaded.
perform special copy jobs
31
hp officejet d series
Tip! Make sure that the glass is clean and the original has
been placed in the bottom-right corner of the glass. You
cannot use the automatic document feeder (ADF) for this
feature.
1
Load the original on the glass.
2
Load the appropriate paper.
3
Press Special Features until Fit to Page appears.
4
Press Enter.
5
Press Start Copy, Black or Start Copy, Color.