clean the ink
cartridge
contacts
Clean the ink cartridge contacts only if you get repeated front panel
messages prompting you to check a cartridge after you already have.
Caution! Do not remove both ink cartridges at the same time.
Remove and clean them one at a time.
Make sure you have the following materials available:
•
A clean, lint-free cloth
•
Distilled, filtered, or bottled water (do not use tap water, as it may
contain contaminants that can damage the printheads)
Caution! Be careful not to get ink on your hands or clothing.
1
Turn the unit on and open the print-carriage access door.
The print carriage moves to the center.
2
After the print carriage has moved to the center, unplug the power
cord from the back of the unit.
3
Press the gray button to release the ink cartridge, then pull it up and
out of its slot.
4
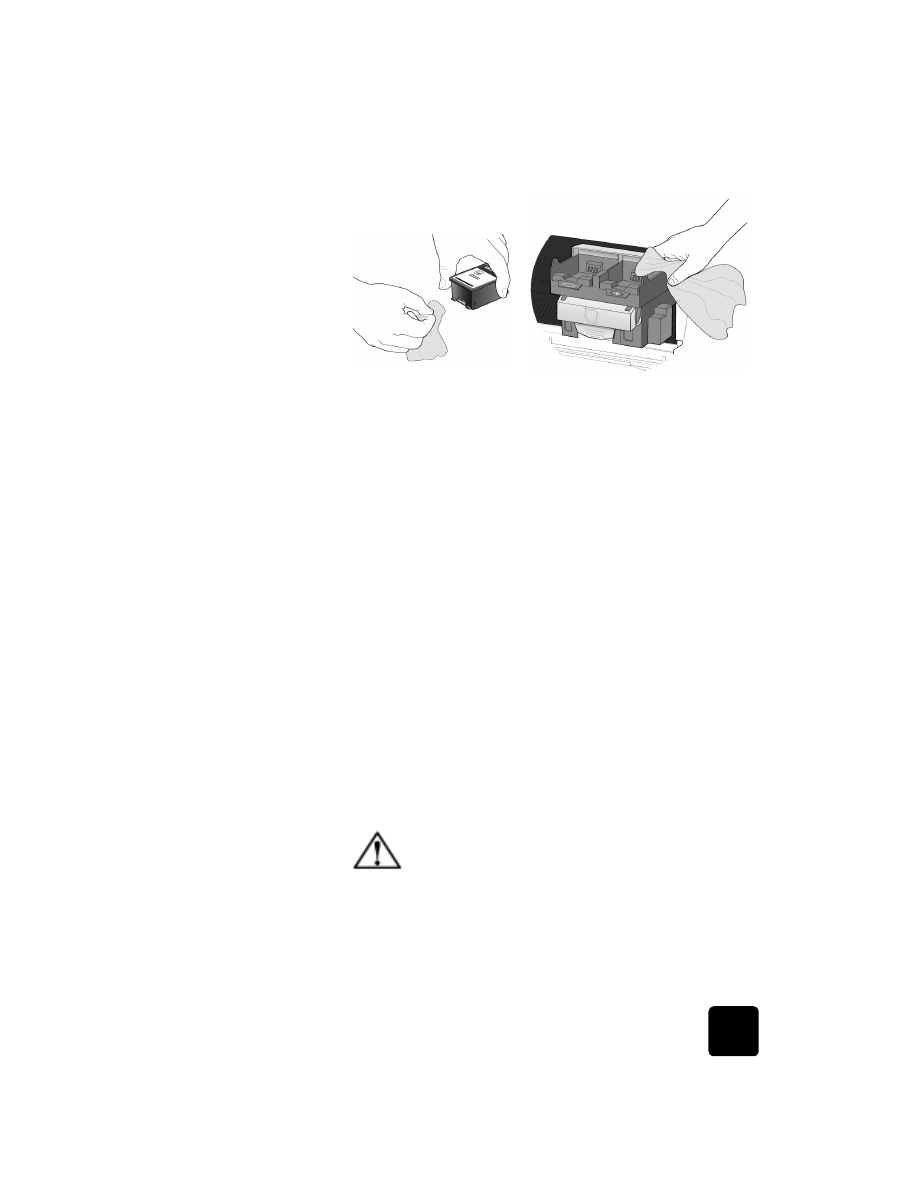
Inspect the ink cartridge contacts and the contacts inside the ink
cartridge socket for ink and debris buildup.
5
Clean any visible ink deposits with a clean, soft, lint-free cloth.
If necessary, moisten the cloth with one drop of water.
Warning! It is very important that you disconnect the
printer from its electrical power source before touching
the ink cartridge contacts. Electrical shock or severe
damage to the printer can occur if you touch the contacts
while there is electrical power to the printer. Do not use
the On button to turn the printer off.

work with printheads and ink cartridges
67
hp officejet d series
6
Place the ink cartridge back into the holder.
7
Repeat if necessary for the other ink cartridge.
8
Close the door and plug in the unit.
Because you removed an ink cartridge from its holder, the HP OfficeJet
needs to align the printheads.
9
After the message appears in the front-panel display, press Enter to
align the printheads.
A page is printed to confirm alignment.